Another simple WebApp example
Introduction
In a previous example we introduced you to setting up a Simple WebApp using mTLS to provide security. This is one of a few ways to secure connection between a client and a server.
In this example, we’ll be using another simple WebApp that instead uses HTTP Basic Auth to verify login and access.
You will need one device (Raspberry Pi or Debian Machine) with the WoTT Agent installed and have it registered to the WoTT Dashboard and a web browser to access it (either on a different device or the same one) or the terminal of another WoTT agent device.
You will also need to have our examples repository cloned. To do so:
$ git clone https://github.com/WoTTsecurity/examples.git
Otherwise you can use curl to download the relevant files. We’ll include the relevant commands for both.
Using WoTT Dashboard
WoTT provides an online client that you can interface with to register your WoTT Agent enabled devices. We strongly encourage you to do so in the interests of protecting your IoT devices.
For this example, you will need to have the WoTT Dash set up, so if you haven’t done so already, register with the link above and enrol your devices (done during the initial installation of the WoTT agent). If you already have done this, just log into the dashboard with your username and password.

If you have already got the WoTT Agent installed but haven’t got the dash and the claim information, don’t worry. Follow these commands to get the information you need to set it up:
$ sudo wott-agent claim-url
$ sudo wott-agent whoami
$ sudo wott-agent claim-token
This will give you all the information you need to manually claim your device.
Adding Credentials
Once you have your devices enrolled, you need to navigate to the Credentials page in the Dashboard. You will need to add a credential to use to access the WebApp later.
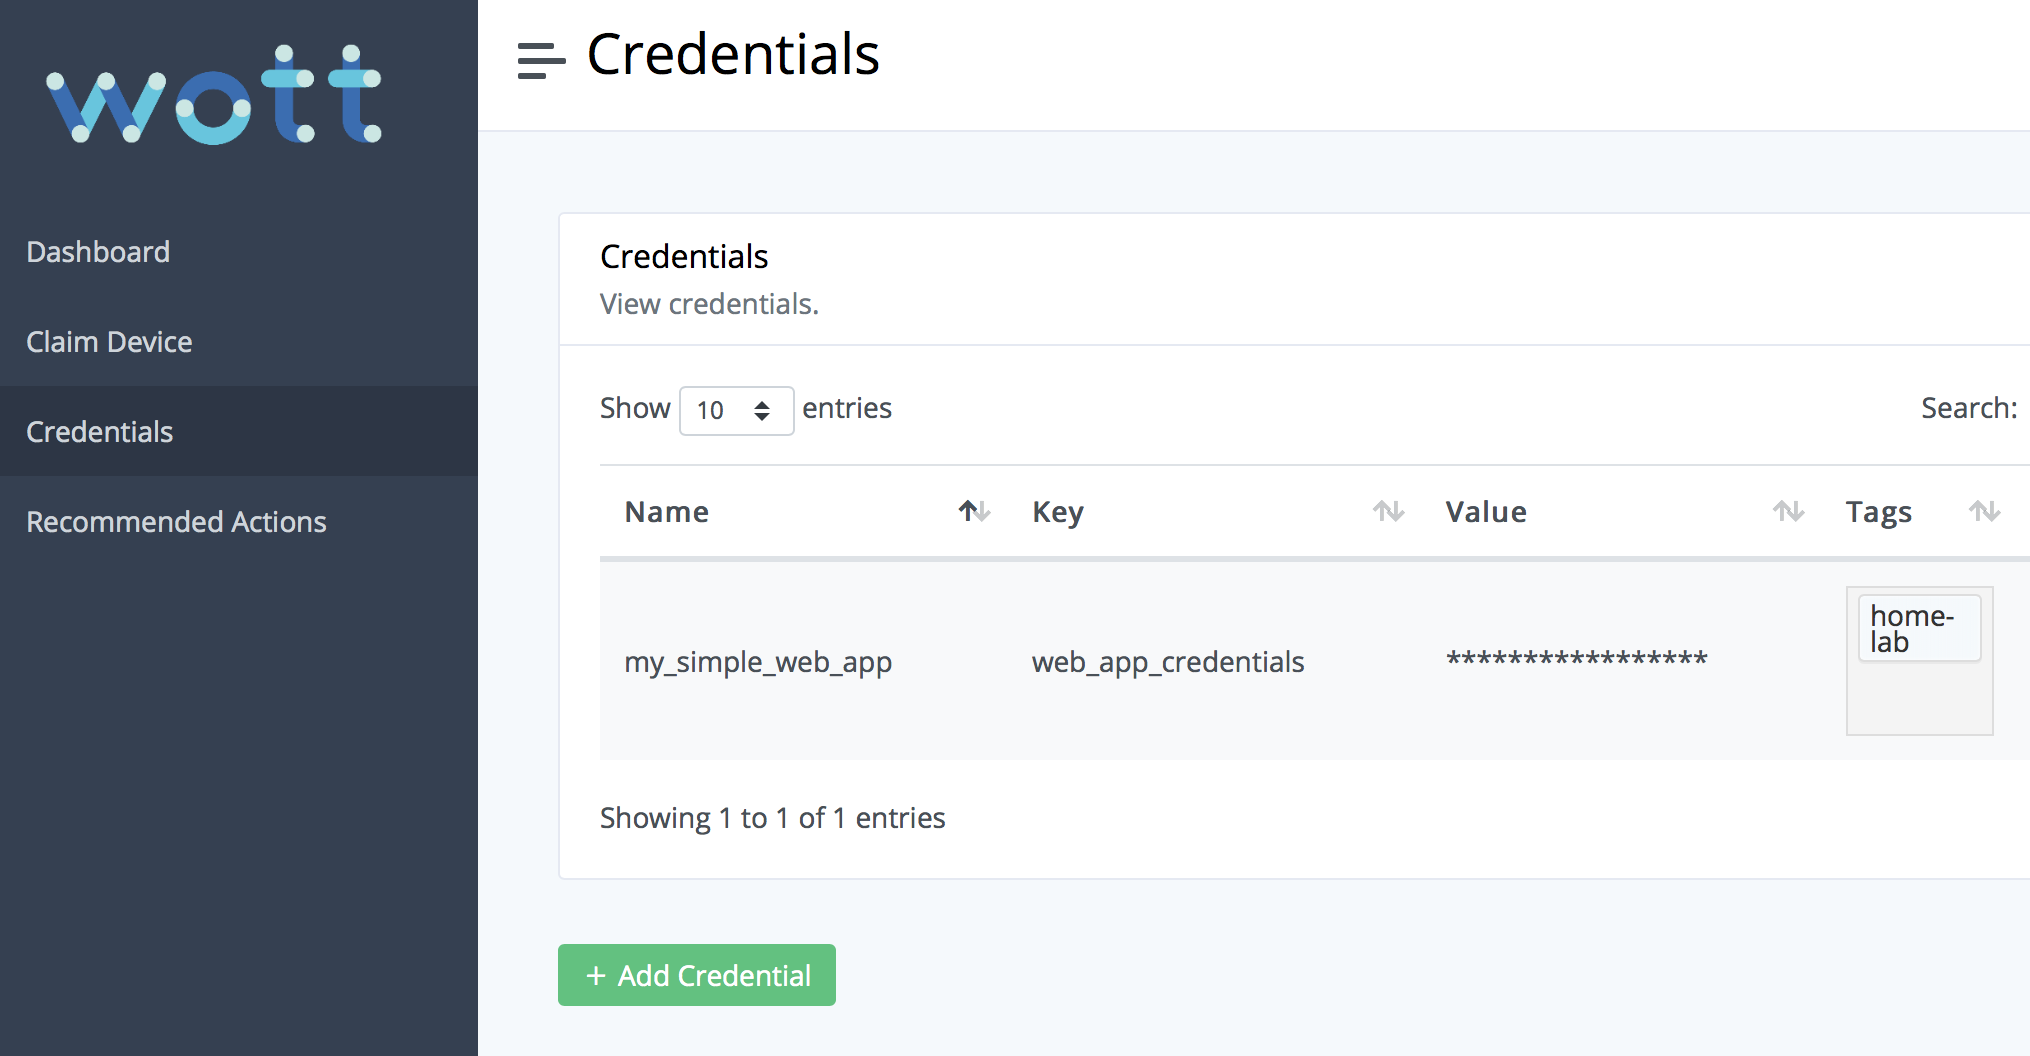
The credential subheaders may seem a little confusing. In essence, Name refers to the name of the application you need credentials for. In our case, it’s the simple WebApp. The Key is how the application then queries its credentials with Value referring to the actual contents of the key (the secure bit). Tags is to match the tags of your chosen device to the credential so you can manage which credentials are downloaded to each device.
For our example, add the following credential:
Name = my_simple_web_app
Key = web_app_credentials
Value = username:password
Tags = home-lab
In place of username:password you can enter your own username and password but it is sufficient for this demonstration to leave it as is. This is also assuming the tag of the device you will be downloading the credential on is home-lab. If all is successful, the page should now look something like this:

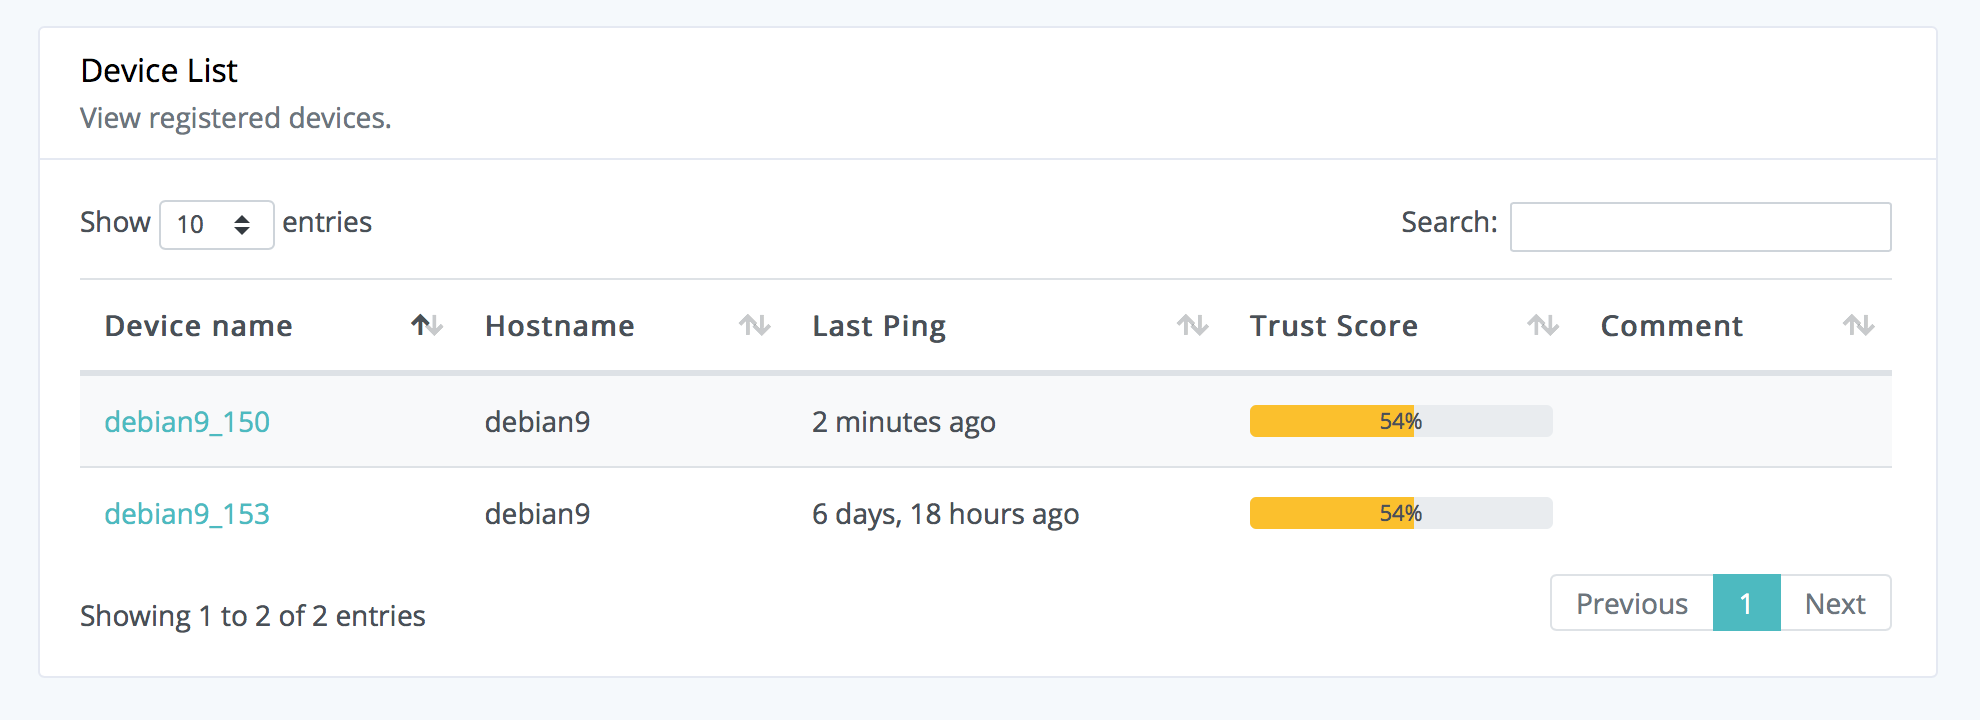
You will then need to add the correct tags to your device. Navigate to your dashboard. It will have a list of your registered WoTT devices and look something like this:

Select the device that will be acting as your server, or home-lab. In the overview tab, you will be able to add tags to your device. Add home-lab and ensure that it is spelt correctly to match the credentials tag or it will not download.
The credentials are now ready to be used on your specified WoTT enabled device provided they are tagged correctly. The credentials will automatically be populated on the device. However, to speed things up, we can run:
$ sudo wott-agent credetials
There will now be a JSON file in your WoTT agent’s credentials with your information which the app will parse and process.
Note: If you change the Name of the new credentials, you will need to edit the name of the JSON file being read within the app as it currently assumes you have named it my_simple_web_app as per instructions.
Setting up the WebApp
If you are using curl, you will need to download these files into a new directory. Use sudo where necessary.
$ apt update && apt install -y python3 python3-pip curl
$ mkdir ~/wott-webapp-auth-example
$ cd ~/wott-webapp-auth-example
$ curl -o app.py https://raw.githubusercontent.com/WoTTsecurity/examples/master/simple-webapp-auth/app.py
$ curl -o requirements.txt https://raw.githubusercontent.com/WoTTsecurity/examples/master/simple-webapp-auth/requirements.txt
$ pip3 install -r requirements.txt
$ sudo python3 app.py
If you have our examples repository cloned instead (recommended), then navigate to the directory containing it and do the following instead:
$ apt update && apt install -y python3 python3-pip curl
$ cd examples
$ cd simple-webapp-auth
$ pip3 install -r requirements.txt
$ python3 app.py
This will start your app on the server 127.0.0.1 at port 8080. You should receive a response like so:
* Serving Flask app "app" (lazy loading)
* Environment: production
  WARNING: Do not use for the development server in a production environment.
  Use a production WSGI server instead.
* Debug mode: Off
* Running on http://127.0.0.1:8080/ (Press CTRL+C to quit)
Accessing the WebApp
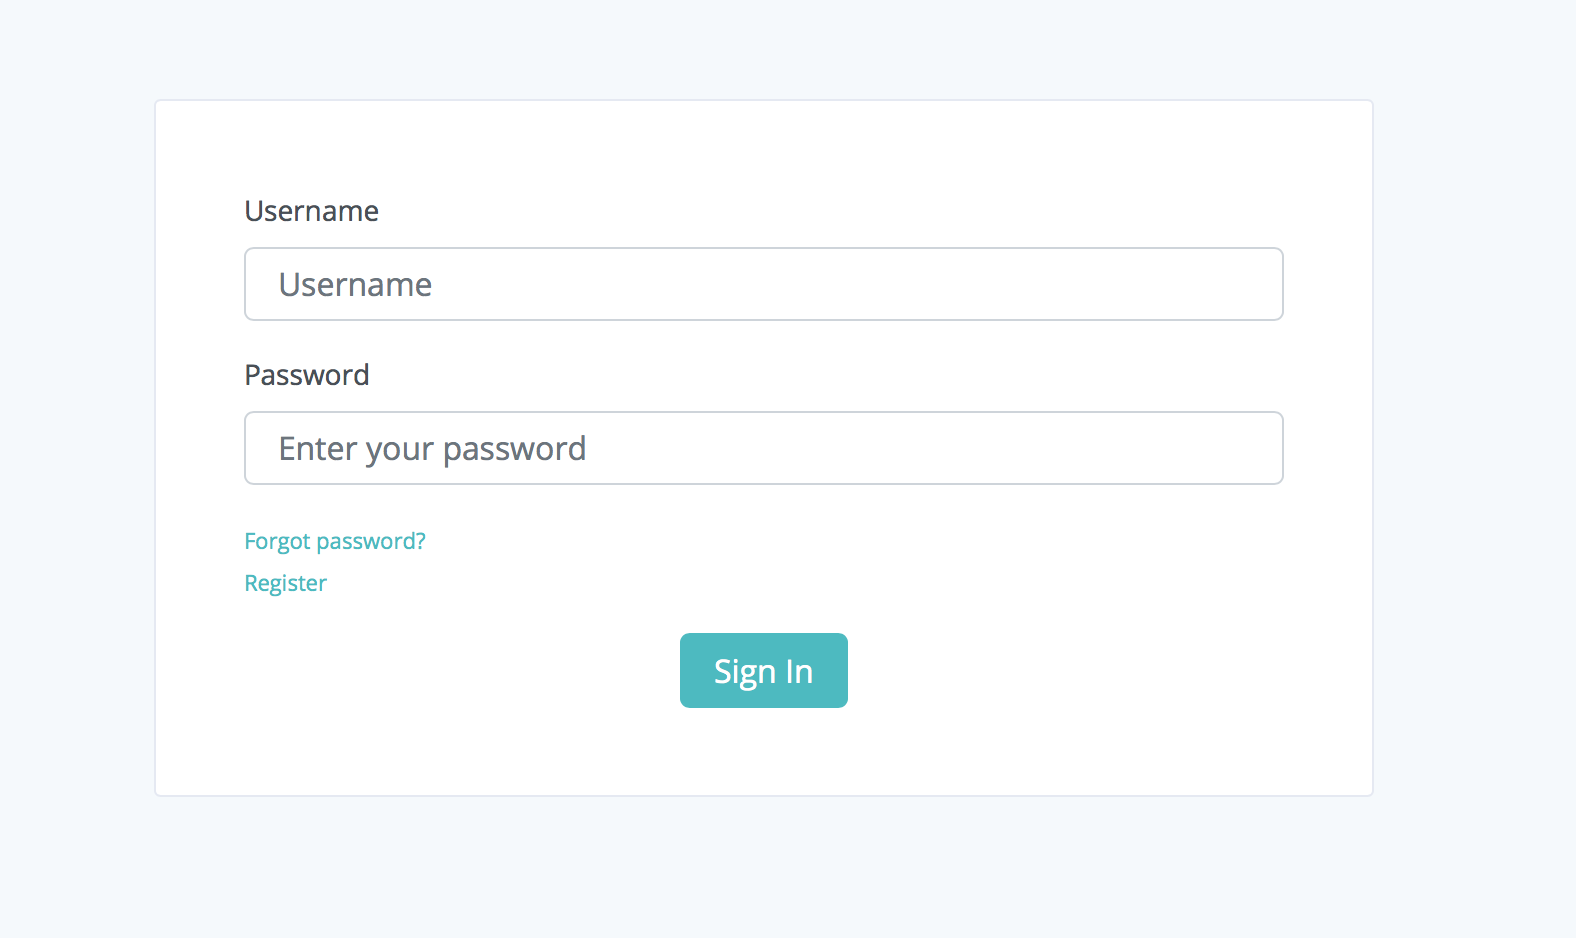
Launch http://127.0.0.1:8080/ on your device’s browser. Here, provided you have encountered no errors, you’ll be prompted to enter a username and password. If you have followed the steps so far the username should be username and the password password.
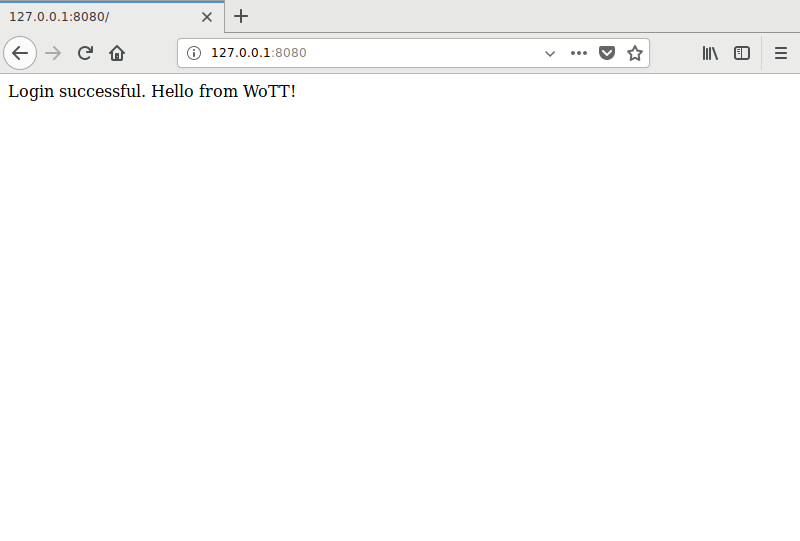
With the correct details, you will be greeted with the following screen message:

And that’s it, you’ve set up basic HTML auth on a WebApp!
Common Errors
No module named flask
File "/Users/user/dir/app_dir/app.py", line 1, in <module>
    from flask import Flask
ImportError: No module named flask
This can occur if the requirements file does not install properly or you are in the wrong virtualenv. Make sure to source your venv and install requirements.txt properly
404: Not Found when running either app.py or installing requirements.txt
When using curl commands to download the files from Github, make sure you use the correct URL. If you’re unsure, go to the GitHub page directly and click on the files and view them in raw format. Copy this link into the curl command if all else fails.
Accessing the WebApp from a new client
While making sure the server device is still running:
Obtain your server device IP using ip addr show in a separate terminal if you do not know what it is already. The port we are calling is 8080.
You can either enter the IP address followed by :8080 and enter the username and password through the WebApp and receive the same screen as before; or you can use a curl command in your client device’s terminal in the following format:
$ curl http://username:password@SERVER_IP:8080
Once again, if succussful you will receive the following message:
Login successful. Hello from WoTT!
Closing Notes
We have now seen how we can use WoTT to generate secure credentials to access a WebApp via HTTP Basic auth. This can be done from any device to the server on the WoTT agent enabled device provided you have access to the credentials and the server’s IP. Once again, make sure to bind your WebApp to your localhost for security.
And while you're here...
Did you know that WoTT gives you free security audits, including CVE scanning, for your first node? Sign up today.