
Using WoTT to secure access to Screenly
Introduction
Screenly is a service that provides digital signage and acts as an OS on the host device. Essentially it treats your host device as a streaming service that projects visual media (such as images and webpages) onto a monitor from multiple different sources. Think of it as a manager for your visual media- you send the content via a browser on the Screenly management page, and the host device projects that content onto a monitor.
Screenly by default allows anyone within the network with the management page IP address to access it and send content. However, it does also provide HTTP authentication- and we can use WoTT’s credentials to secure our Screenly device so that we can restrict and verify those who have access to it.
Screenly offers a free OSE version that you can use. For this example you will need a Raspberry Pi, a monitor for Screenly to project onto; and at least one browser device. You will also need to have an account for the WoTT Dashboard in order to manage WoTT credentials.
Installing WoTT agent on Screenly OSE
First you will need a Screenly OSE (the free version) device if you do not already. Follow the instructions to install Screenly OSE on your Raspberry Pi here. We reccommend you follow the first option and use something like Etcher to flash the SD card with the Screenly OSE disk image. Note: Screenly OSE will overwrite your OS.
When the Raspberry Pi reboots, it will take you to the Screenly OSE network configuration. You will need to access the SSID as you would a wifi network and enter the password shown.
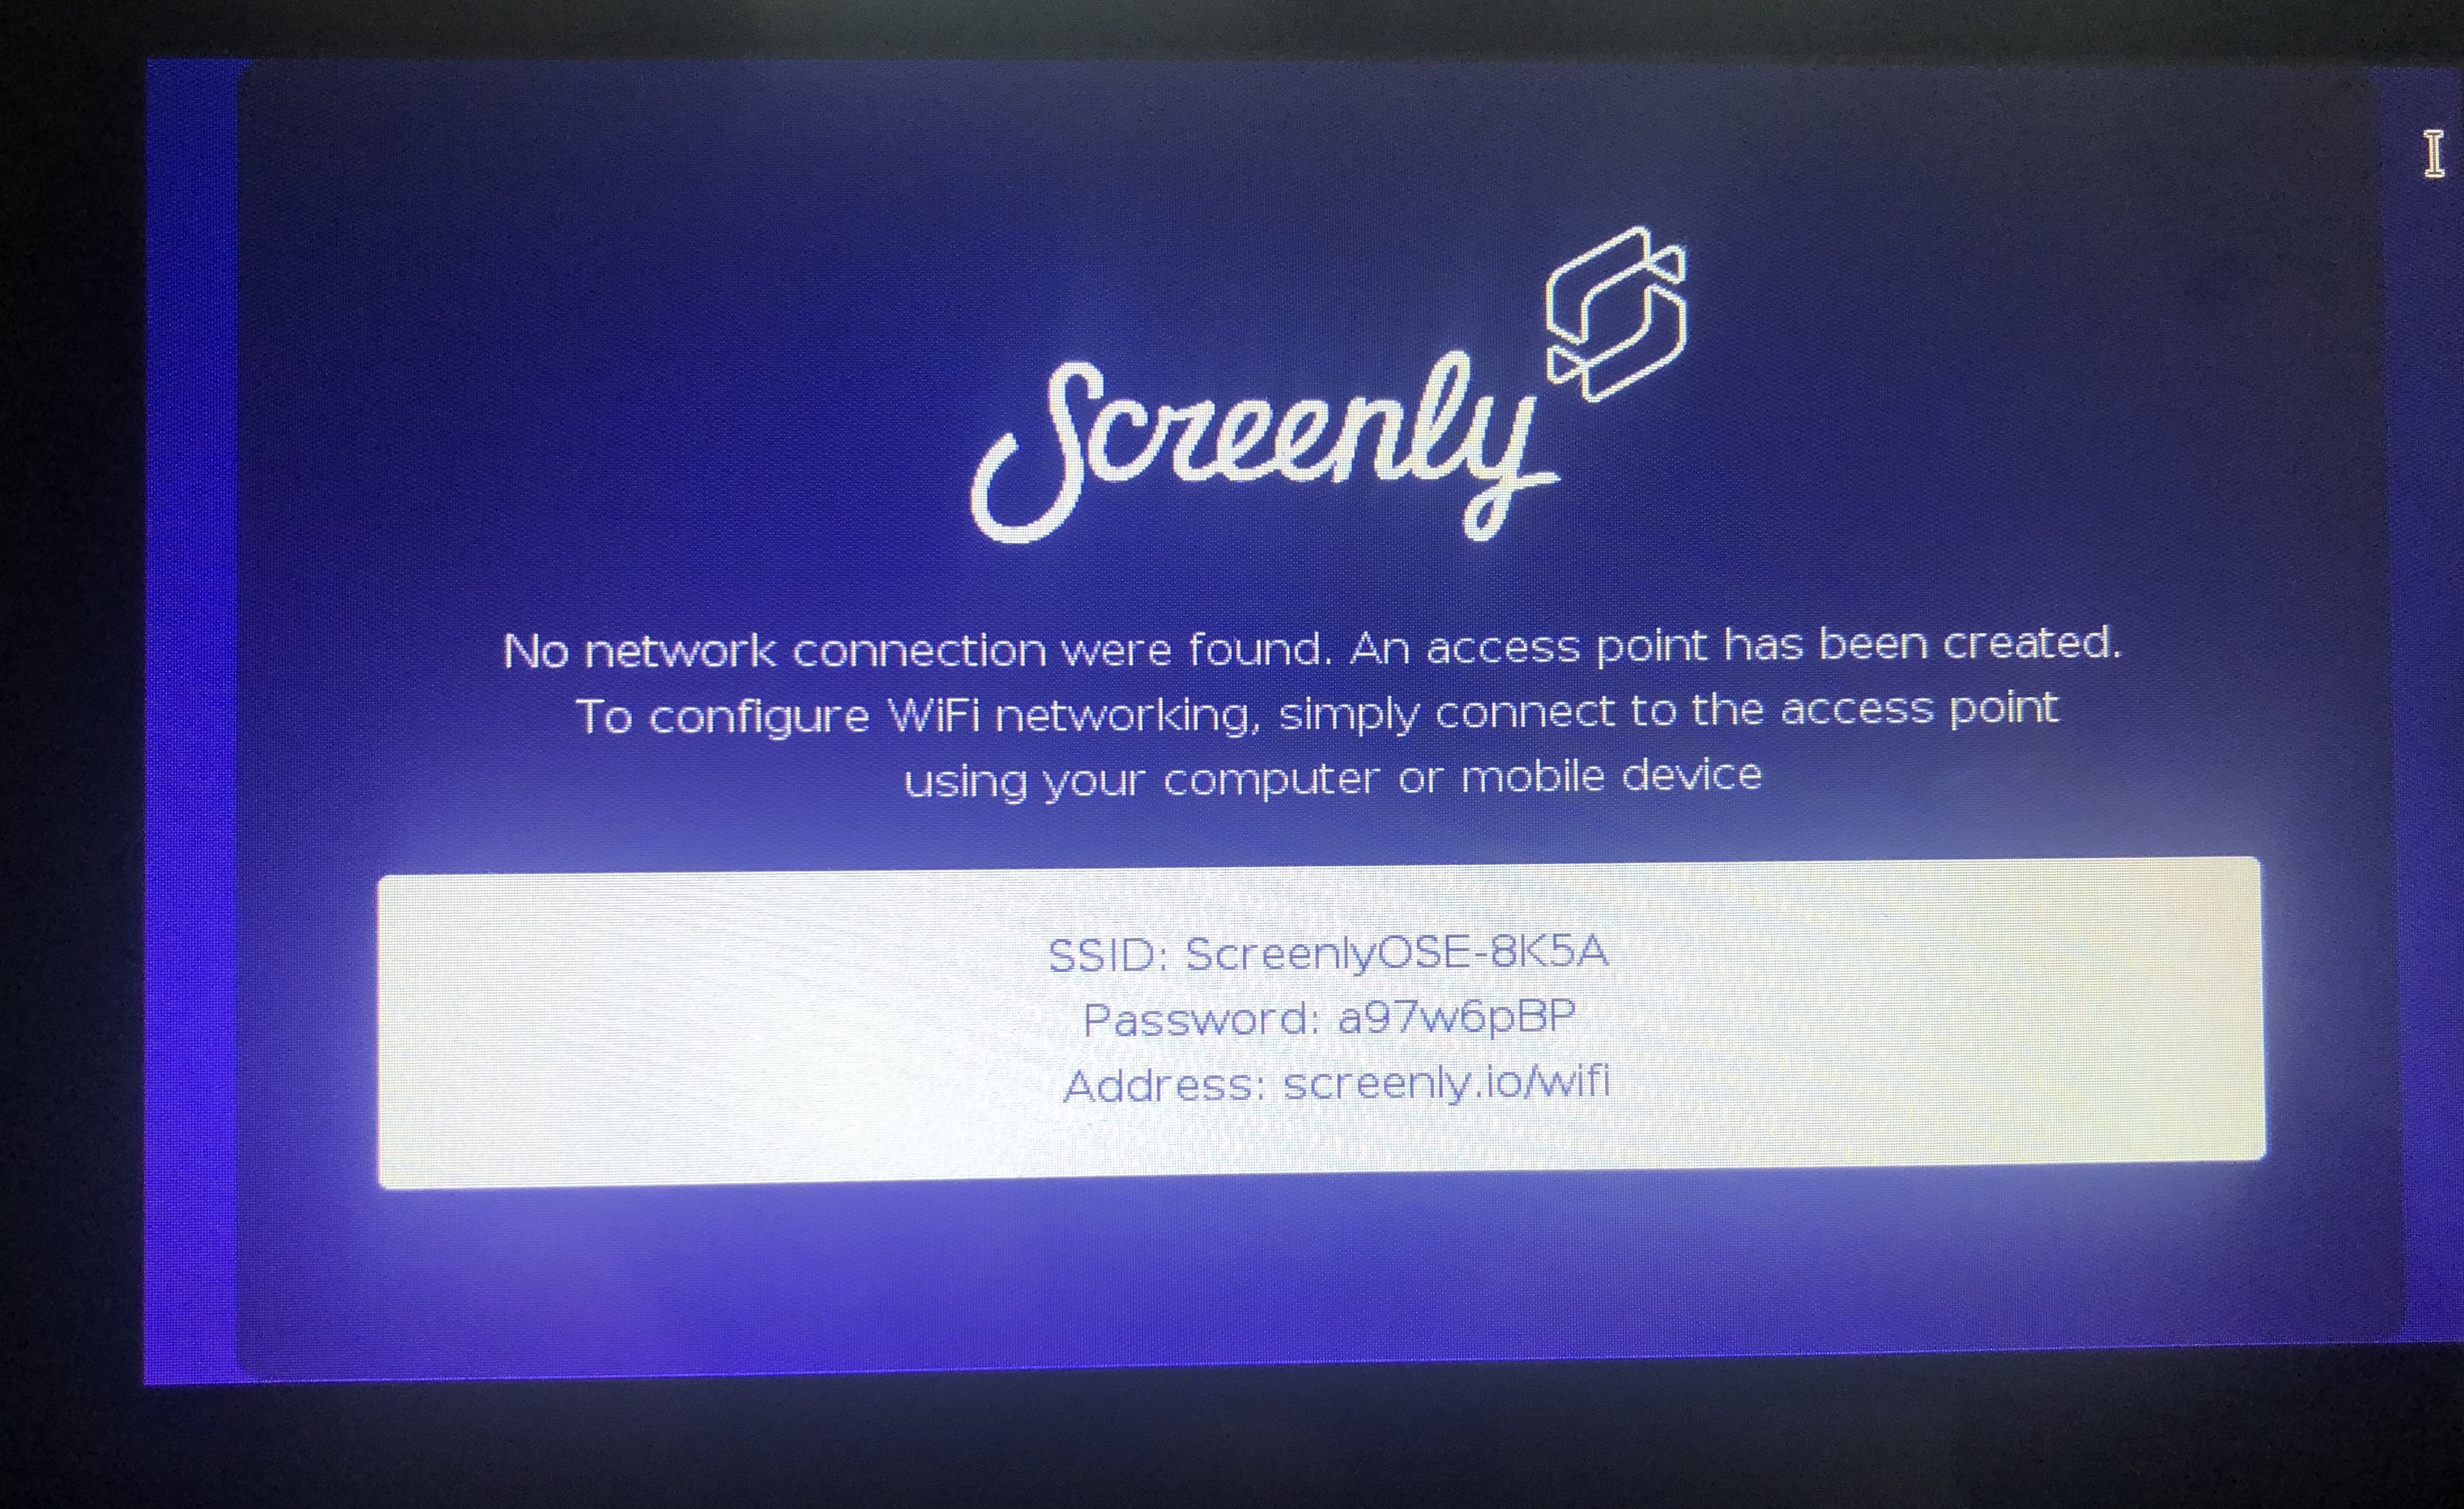
Then navigate to the Address shown and login with your network details. This will grant you access to the Screenly management page.
Now we need to secure access to your Screenly OSE device. If you haven’t installed the WoTT Agent already, you can install it via the Screenly OSE installer. Just run:
$ ./screenly/bin/run-upgrade.sh
and select the WoTT agent from the installation options.
To do this on the Screenly OSE device, you need to access the terminal through CTRL + ALT + F1. To return back to the GUI, it is CTRL + ALT + F2.
Once here, follow the WoTT agent installation as you would on any other device.
Optional: If you want to avoid using the terminal directly on your Screenly OSE device in the future, enable SSH through the sudo raspi-config command. It is also reccommended that you change your Password from the default raspberry (this will also improve your WoTT security score!) if you are going to do this.
You will now need to register the Pi on the WoTT dashboard.
Downloading WoTT credentials on Screenly OSE
Login to the WoTT Dash and navigate to ‘Claim Device.’ If you have installed the WoTT agent recently, the relevant information should be displayed on your terminal screen. If not, use the following commands:
$ sudo wott-agent whoami
$ sudo wott-aget claim-token
This will give you your Device ID and the token value to claim your device.
Your Raspberry Pi should now be registered. Navigate to your Dashboard and select the Pi:
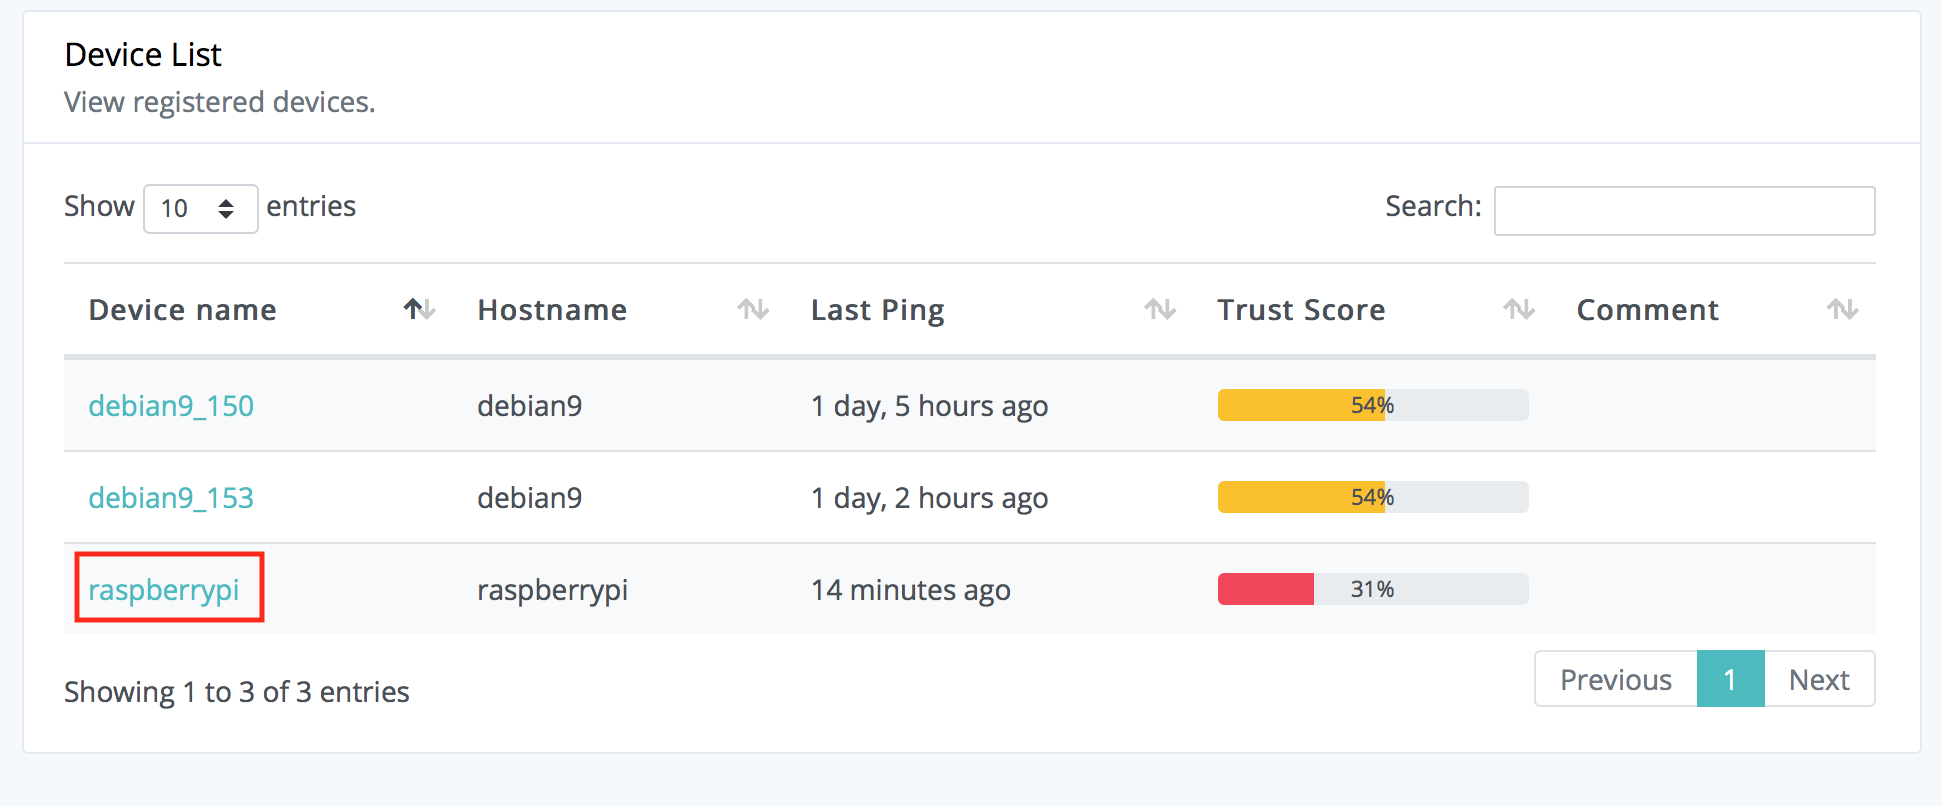
On the overview page, add a tag. This will be important for the credentials. This tag can be whatever you want, however we suggest something like screenly-pi or pi or a variant of that form:
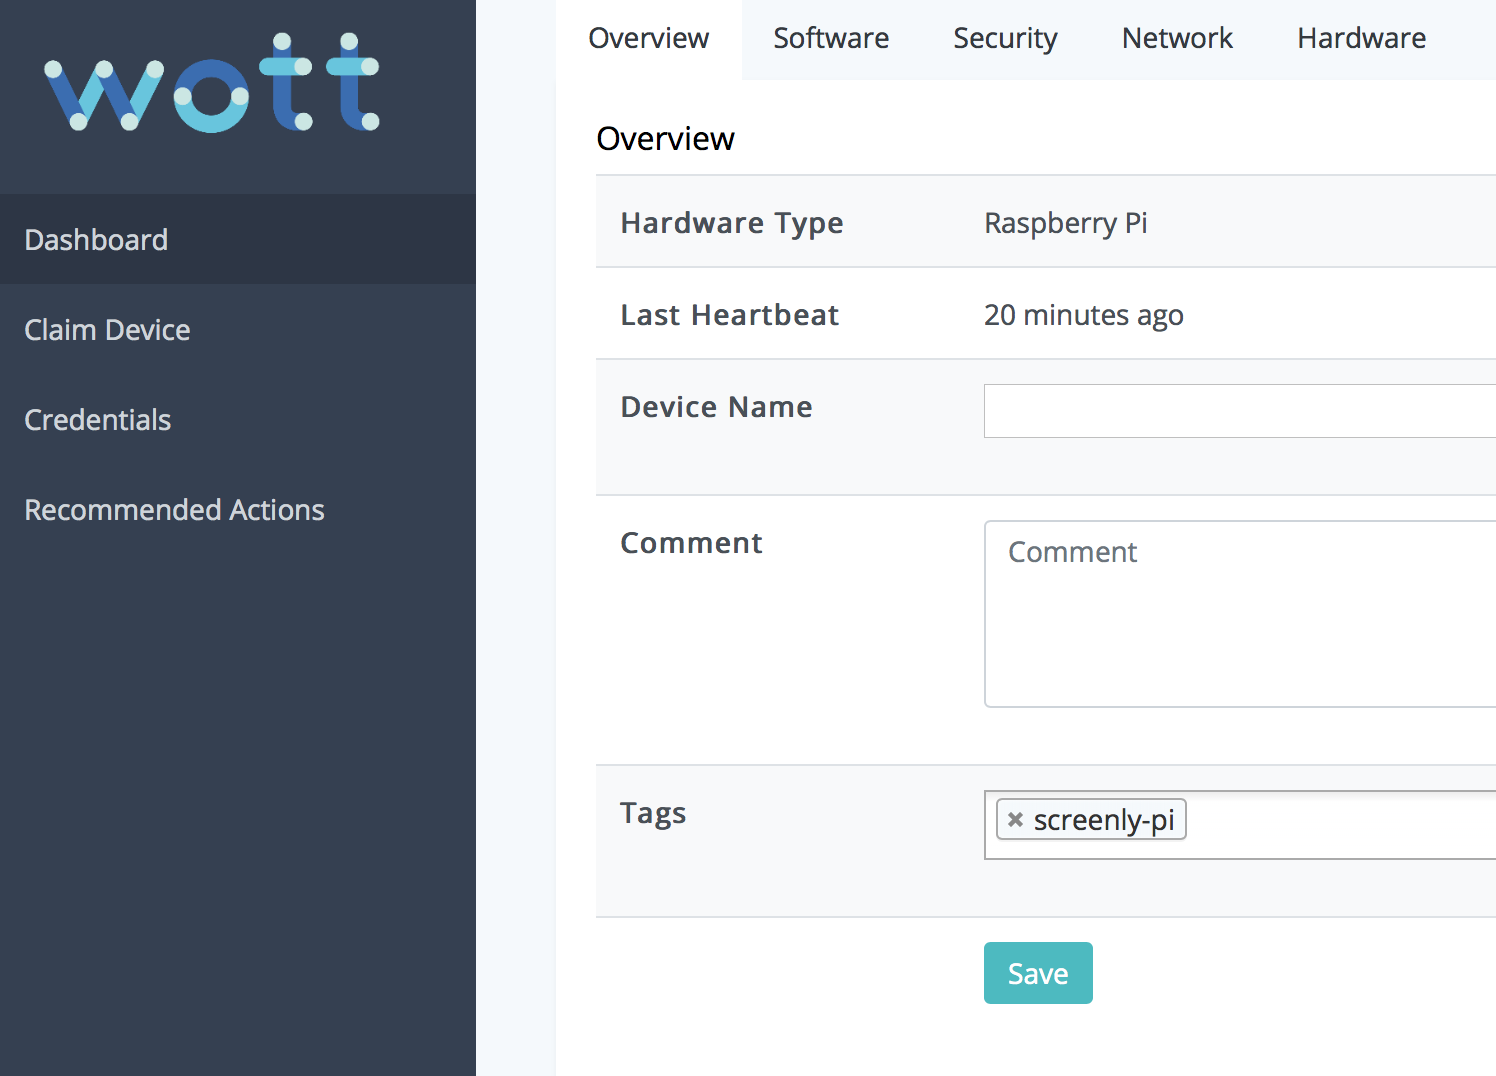
Now navigate to credentials and add a new credential with the following details:
Name = screenly
Key = login
Value = username:password
Owner = pi
Tags = screenly-pi
Where the Owner must be the Linux user running Screenly (so by default on a Raspberry Pi, pi) and Key must be login (or the credentials won’t be read). Value is the actual username and password of the login denoted by the single field username:password. You can change this value to match your own criteria, but it’s fine for this example to leave it as is. Make sure as well that the Tags match whatever Tags you assigned the Pi earlier. The Name should be left as screenly as this is how the config calls the credentials.
Note: the config is automatically edited with the WoTT authentication details. You can change the Name value of screenly if you wish, but note that this is how Screenly OSE will call WoTT’s credential information. So if you do change this name, then you will have to manually change the config file ~/.screenly/screenly.conf.
Your credentials are now all set up. To download them onto the device, you will need to restart the WoTT Agent and the Screenly OSE server:
$ sudo service wott-agent restart
$ sudo service screenly-web restart
There will now be a file on your Pi screenly.json.
Note: it may take a few minutes for this to appear- especially on older Pi models,
You can check the file exists by running the following command (if your user is pi):
$ cat /opt/wott/credentials/pi/screenly.json
If the certificate is downloaded, you should receive a response like so:
{"screenly": "username:password"}
Securing Screenly OSE management page access with WoTT credentials
You will now need to navigate to the Screenly OSE management page. This is the IP address displayed on the front of the Screenly OSE device (or is the inet address when running the command ifconfig in the device’s terminal).
Navigate to Settings:

Scroll down the page and underneath ‘Authentication’ select ‘WoTT’ and save your settings.
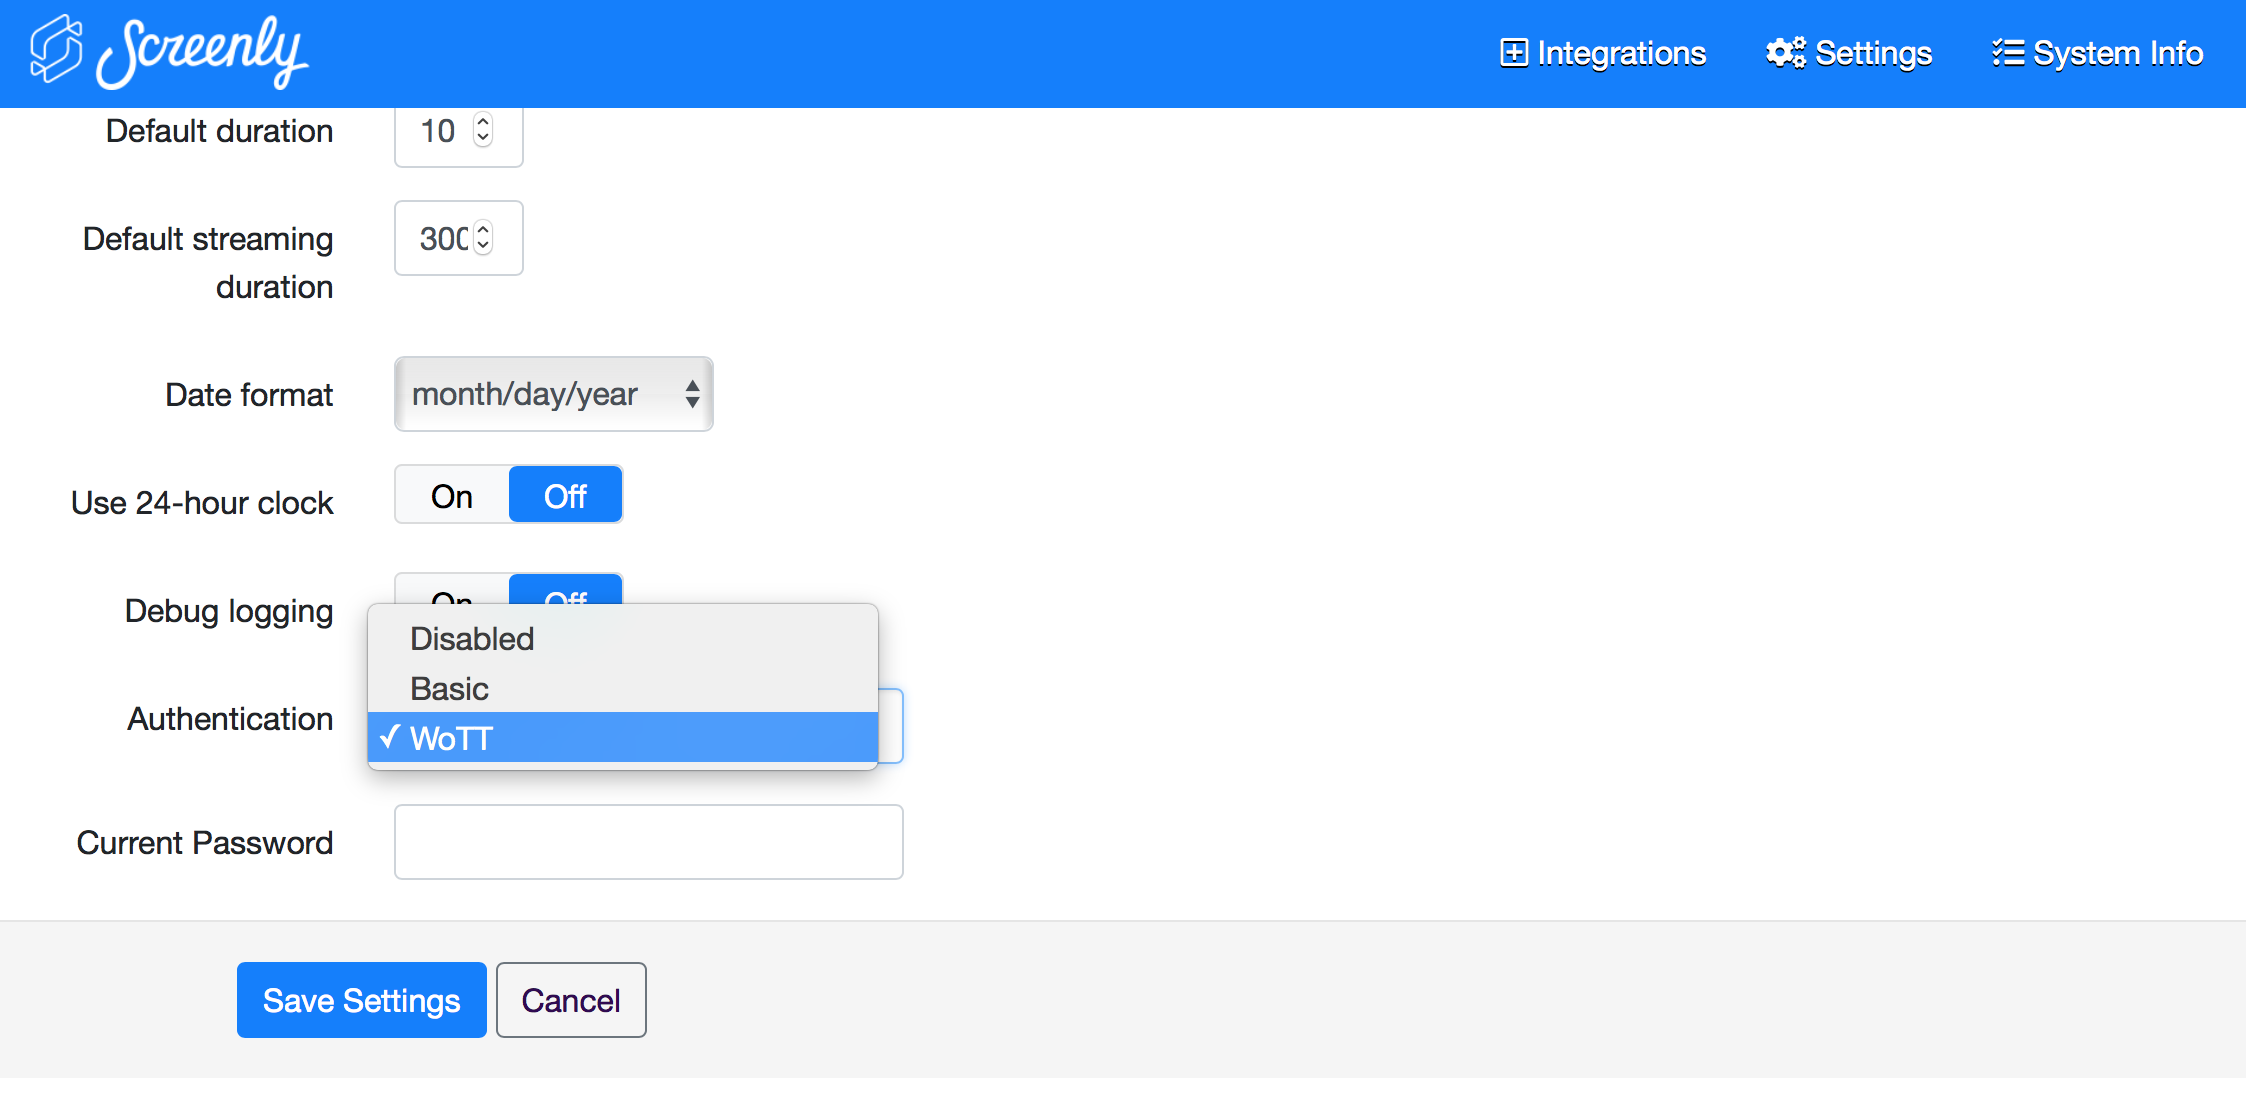
You have now enabled the WoTT credentials on Screenly OSE. Test this out by trying to access the management page from another browser (the image example below is opened in Chrome) and you will be required to login with the credentials you specified above (in this case, username and password)
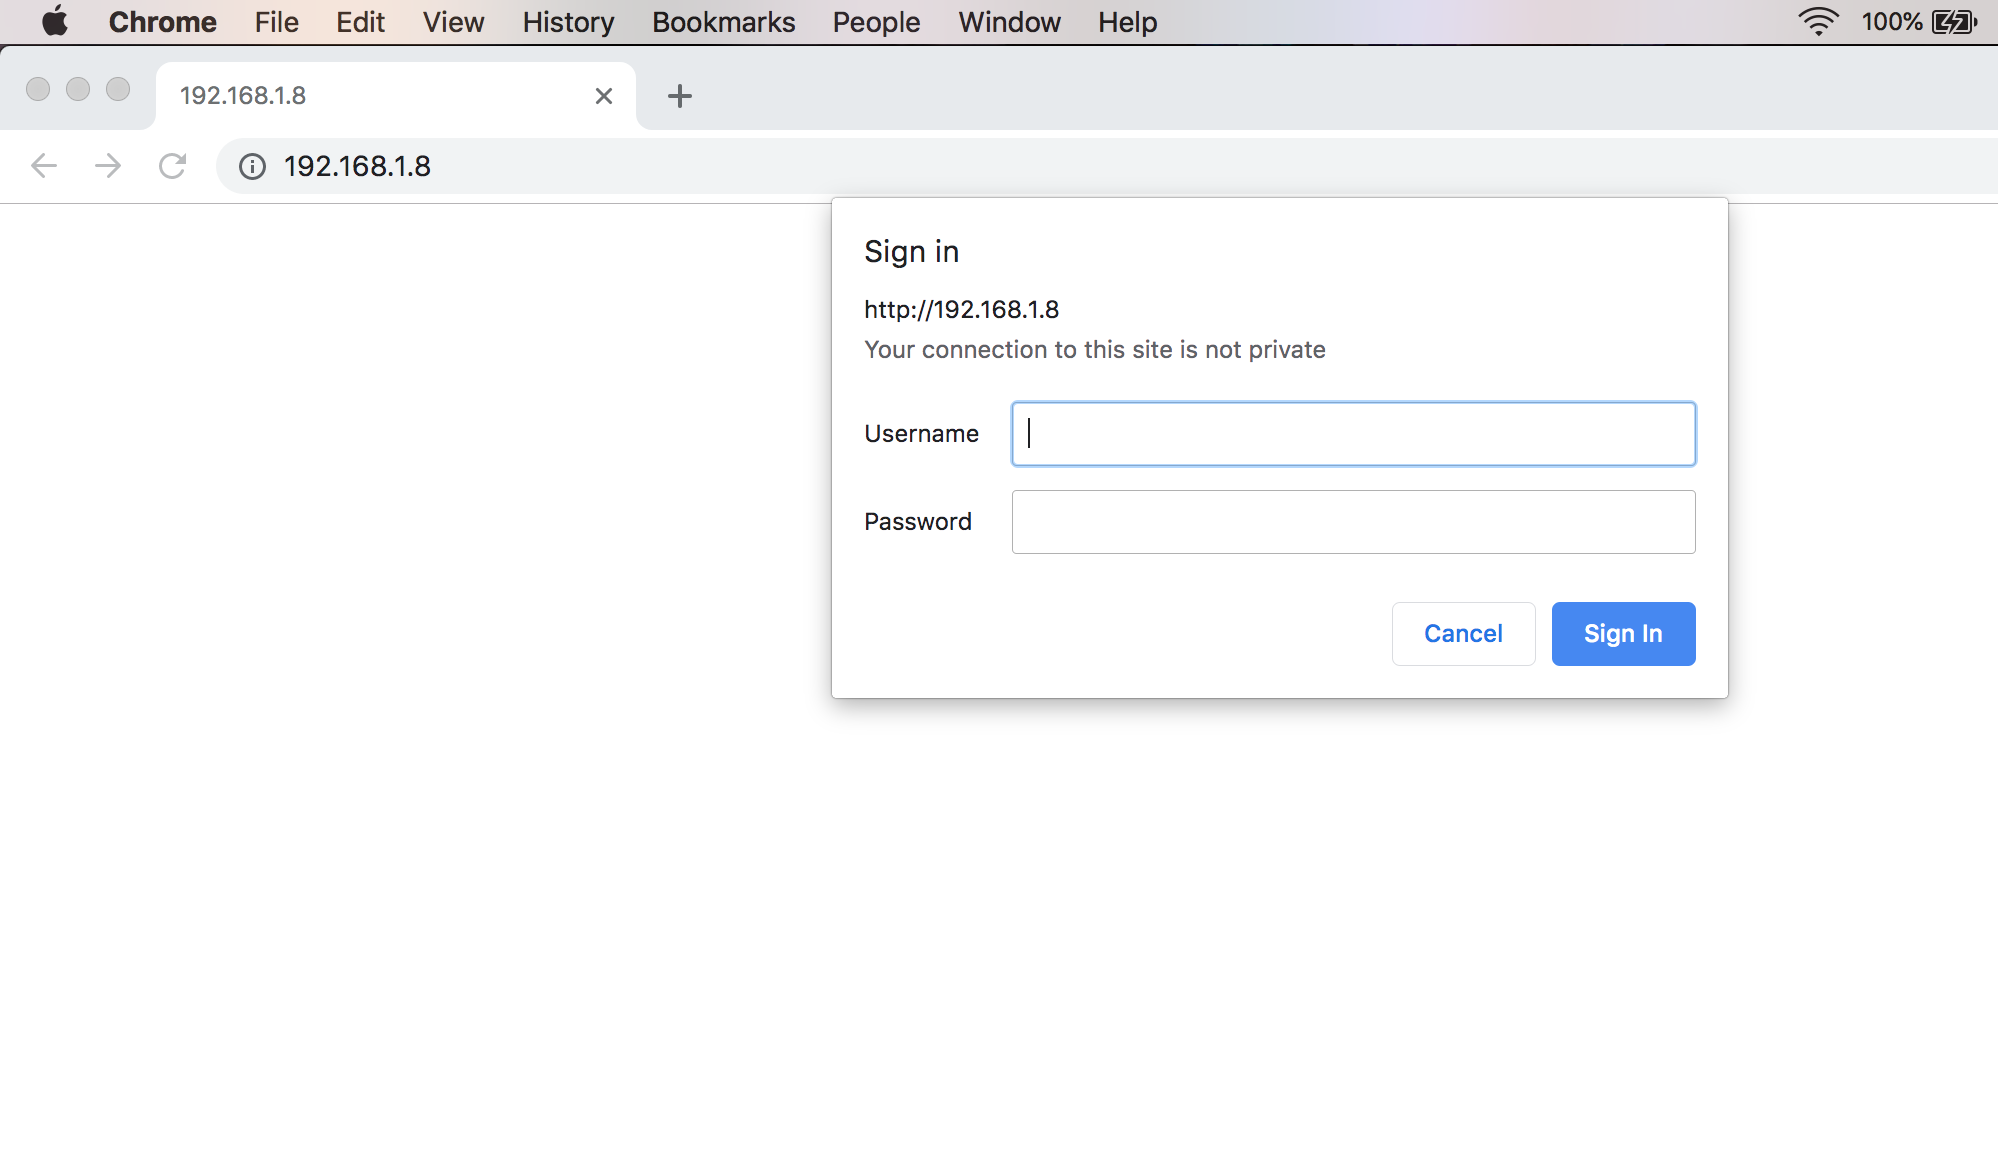
If your credentials are correct, you will be successfully logged into the main Screenly management page and greeted by the Schedule Overview.
Closing Notes
You may be denied access in some of the terminal instances- to resolve this, use the sudo command where necessary.
You can change the WoTT credentials as you wish, but note that data is fetched by wott-agent service every 15 minutes, so for access to any immediate changes you implement you will need to restart the WoTT agent and server as before using
$ sudo service wott-agent restart
$ sudo service screenly-web restart
And that’s it, you have successfully used WoTT credentials to set up authentication for Screenly OSE.
And while you're here...
Did you know that WoTT gives you free security audits, including CVE scanning, for your first node? Sign up today.